Make Your Elementor Website More Fun with a Custom Color Picker!

Do you want to let visitors choose their favorite color for your website? A simple color picker can do just that! This feature allows users to change the main color of your site, making it more engaging and fun. 🎨✨
Why Add a Color Picker?

✅ Makes your website look more interactive.
✅ Lets users personalize their experience.
✅ Saves the selected color even after refreshing the page.
✅ Works smoothly with Elementor.

How It Works:
We’ll add a color palette with some preset colors and an option to enter a custom color. When a user picks a color, it updates the main site color instantly and saves the choice.

What You Need
👉 A Toggle Button – Opens and closes the color picker.
👉 Preset Colors – Quick color options for users.
👉 Custom Color Input – For users who want to enter their own color.
👉 JavaScript to Save and Apply Color – Keeps the selected color even after page reload.

Step-by-Step Guide

1️⃣ Add This HTML:

<button id="togglePalette" class="palette-toggle">🎨 Pick a Color</button>
<div class="color-palette">
    <button class="color-btn" data-color="#ff6f49" style="background:#ff6f49"></button>
    <button class="color-btn" data-color="#FF00FF" style="background:#FF00FF"></button>
    <input type="text" id="customColor" placeholder="#000000">
    <button id="applyColor">Apply</button>
</div>


2️⃣ Style It with CSS:

.palette-toggle {
    background: var(--e-global-color-primary);
    color: white;
    padding: 10px;
    border-radius: 5px;
}

3️⃣ Add JavaScript to Make It Work:

document.getElementById('togglePalette').addEventListener('click', function() {
    document.querySelector('.color-palette').classList.toggle('active');
});

document.getElementById('applyColor').addEventListener('click', function() {
    let color = document.getElementById('customColor').value;
    document.documentElement.style.setProperty('--e-global-color-primary', color);
    localStorage.setItem('selectedColor', color);
});

Done! 🚀

Note: You can also take HTML widget and combine all the codes above and boom it will work fantasticly. You can also add some extra css to make that palette more awesome.

Now your visitors can choose their favorite color for your site, making it more interactive and fun. Try it out and let me know what you think! 💬
Share Now

Related Blogs

Elementor-এ ফিক্সড ব্যাকগ্রাউন্ড ইস্যু?

আপনি কি Elementor ব্যবহার করে ওয়েবসাইট ডিজাইন করতে গিয়ে ফিক্সড ব্যাকগ্রাউন্ড ইস্যুতে পড়েছেন? বিশেষ করে মোবাইল ডিভাইসে ফিক্সড ব্যাকগ্রাউন্ড ঠিক মতো কাজ করে না! Elementor-এ…

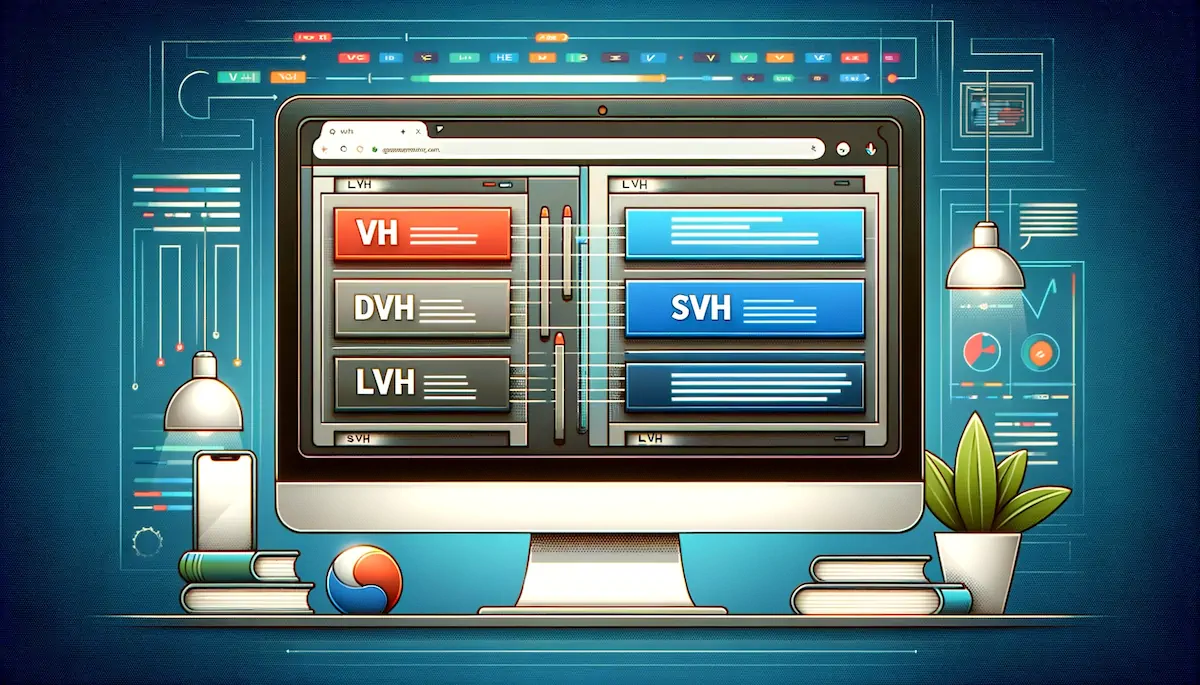
VH-এর বদলে SVH, LVH, DVH কেন ব্যবহার করবেন?

CSS-এ vh (viewport height) ইউনিট আমরা অনেক সময় ব্যবহার করি Hero Section, Fullscreen Layout, এবং Fixed Elements তৈরি করতে। তবে, Mobile Browsers-এ এটি কিছু সমস্যার…

Elementor Icon Box Layout on Responsive Devices

Fixing Elementor Icon Box Layout on Responsive Devices with Simple CSS! When creating responsive websites, maintaining a clean and professional layout across all devices is…

WordPress Web Security

When building websites with Elementor, security should always be a priority. Here are some of the best security plugins you can use to protect your…

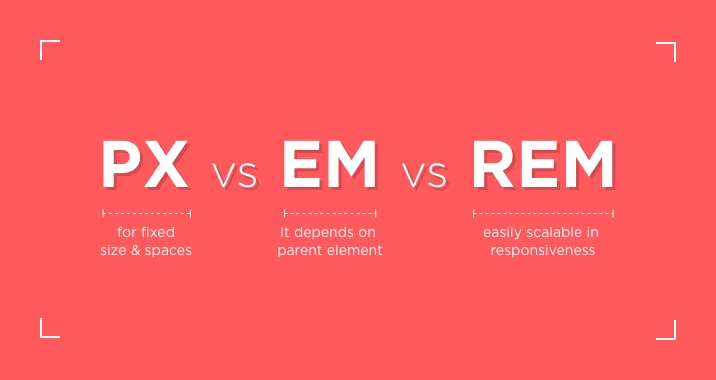
PX vs EM vs REM

Choosing between em, rem, and px for font sizes and spacing can make a big difference in your web design’s responsiveness and accessibility. Here’s a…

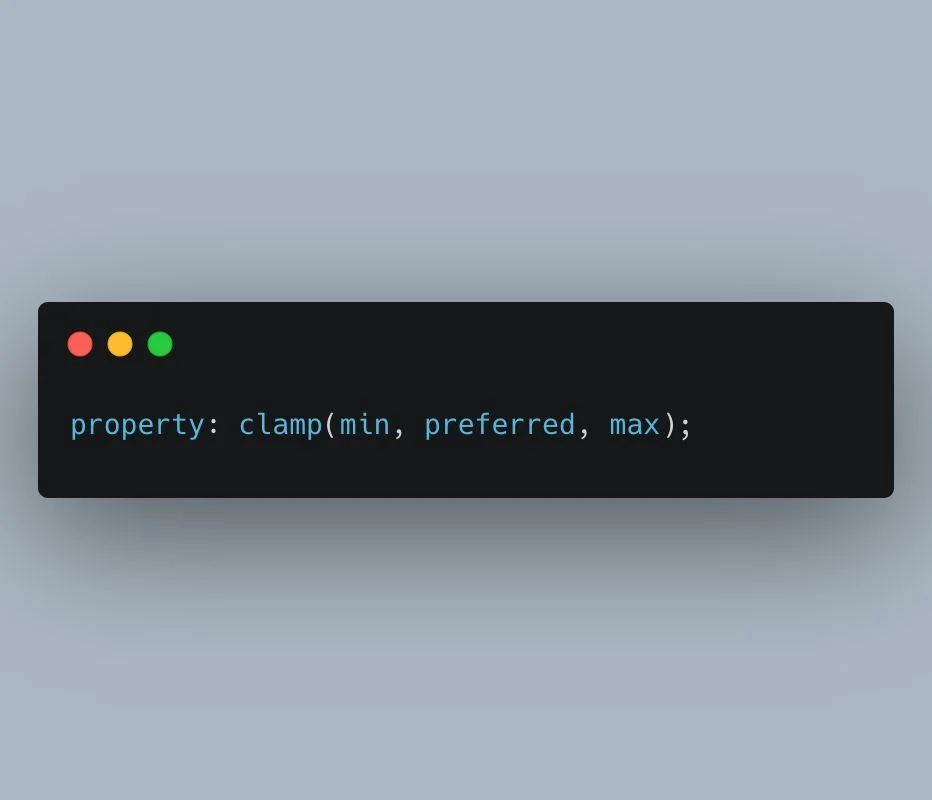
Improve you typography by using “clamp()”

Did you know that you can improve your typography responsiveness in Elementor by using the clamp() function for font sizing? This CSS trick helps create…

File Explorer

Search This PC

File Explorer

Search About

This website designed and developed by Nurul Hudda and designed with Elementor. Design inspiration from Windows 11.

File Explorer

Search Projects

This PC

This website designed and developed by Nurul Hudda and designed with Elementor. Design inspiration from Windows 11.

Contact.txt

File Explorer

Search Contact

This website designed and developed by Nurul Hudda and designed with Elementor. Design inspiration from Windows 11.

Projects.txt

Windows 11 – Themed Portfolio

Description: This portfolio is inspired by the Windows 11 UI, featuring a clean, modern, and glassmorphic design with smooth animations. It mimics the Windows 11 interface to provide a unique and interactive user experience, making your portfolio look like an operating system.

Technologies: Elementor, WordPress, JavaScript.


Portfolio with VS Code UI

Description: This portfolio is a web project inspired by the Visual Studio Code UI, featuring a dark theme, sidebar navigation, tab system, and a coding editor-like interface. It was designed to showcase projects, skills, and personal information in a unique and interactive way.

Technologies: Elementor, WordPress, JavaScript

About.txt

Developer Profile:

  • Name: Nurul Hudda
  • Profession: Web Designer & Developer
  • Expertise: Elementor, WordPress, HTML, CSS, JavaScript

Experience:

  • Years of Experience: 1.5+ Years
  • Projects: 60+ with Elementor


Skills:

  • Primary Skill: Web Development
  • Tools: Elementor Pro, VS Code, Figma, Adobe XD


Contact:

Nurul Hudda - Visual Studio Code

Explorer

portfolio

The reference site was created by Harwin Dan using Next.js, while this site has been built with the Elementor Page Builder by Nurul Hudda.

				
					<!DOCTYPE html>
<html lang="en">
<head>
    <meta charset="UTF-8">
    <meta name="viewport" content="width=device-width, initial-scale=1.0">
    <title>Nurul's Portfolio</title>
    <link rel="stylesheet" href="About.css">
</head>
<body>
    <header>
        <h1>Welcome to My Portfolio</h1>
        <p>Hi, I'm Nurul – A Web Designer & Developer</p>
    </header>
    
    <nav>
        <ul>
            <li><a href="#home">Home</a></li>
            <li><a href="#about">About</a></li>
            <li><a href="#portfolio">Portfolio</a></li>
            <li><a href="#contact">Contact</a></li>
        </ul>
    </nav>
    
    <section>
        <h2>Crafting Unique Web Experiences</h2>
        <p>Passionate about building aesthetic & functional websites with Elementor.</p>
    </section>
    
    <footer>
        <p>© 2025 Nurul. All rights reserved.</p>
    </footer>
<//body>
</html>


					/* Developer Profile */
.nurul {
    name: "Nurul Hudda";
    profession: "Web Designer & Developer";
    expertise: ["Elementor", "WordPress", "HTML", "CSS", "JavaScript"];
}

/* Experience */
.experience {
    years: 1.5+ Years;
    projects: 60+ with Elementor;
}

/* Skills */
.skills {
    primary: "Web Development";
    tools: ["Elementor Pro", "VS Code", "Figma", "Adobe xd"];
}

/* Contact */
.contact {
    email: "hello@nurul.docstec.com";
    linkedin: "www.linkedin.com/in/nurulhudda247";
    website: "www.nurul.docstec.com";
    location: "Remote, Worldwide";
}


					// Nurul's Portfolio
const developer = {
    name: "Nurul Hudda",
    role: "Web Designer & Developer",
    skills: ["Elementor", "HTML", "CSS", "JavaScript"],
    projects: [
        { title: "Personal Portfolio", status: "Ongoing" },
        { title: "Landing Page", status: "Completed" },
        { title: "E-Commerce Website", status: "Completed" },
        { title: "Company Profile Website", status: "Completed" },
        { title: "Learning Management System", status: "Completed" },
        { title: "Charity Website", status: "Completed" },
    ]
};


					<?php
// Contact form handling
if ($_SERVER["REQUEST_METHOD"] == "POST") {
    echo "Thanks for reaching out, " . htmlspecialchars($_POST["name"]) . "!";
}
?>

<!DOCTYPE html>
<html lang="en">
<head>
    <meta charset="UTF-8">
    <meta name="viewport" content="width=device-width, initial-scale=1.0">
    <title>Contact Nurul</title>
</head>
<body>
    <h1>Contact Me</h1>
    
    <!-- Basic Info -->
    <p><strong>Email:</strong> nurulhudda247@gmail.com</p>
    <p><strong>Phone:</strong> +880 1755 456 278</p>
    <p><strong>Follow me on:</strong></p>
    <ul>
        <li><a href="https://www.linkedin.com/in/nurulhudda247/">LinkedIn</a></li>
        <li><a href="wa.link/miz7am">Whatsapp</a></li>
    </ul>

    <!-- Contact Form -->
    <form method="POST">
        <label>Name:</label><br>
        <input type="text" name="name" required><br><br>
        
        <label>Email:</label><br>
        <input type="email" name="email" required><br><br>

        <label>Message:</label><br>
        <textarea name="message" required></textarea><br><br>

        <button type="submit">Send Message</button>
    </form>
</body>
</html>